
Stop searching Pinterest right now because we have the perfect ideas and the perfect supplies for your next DIY project!
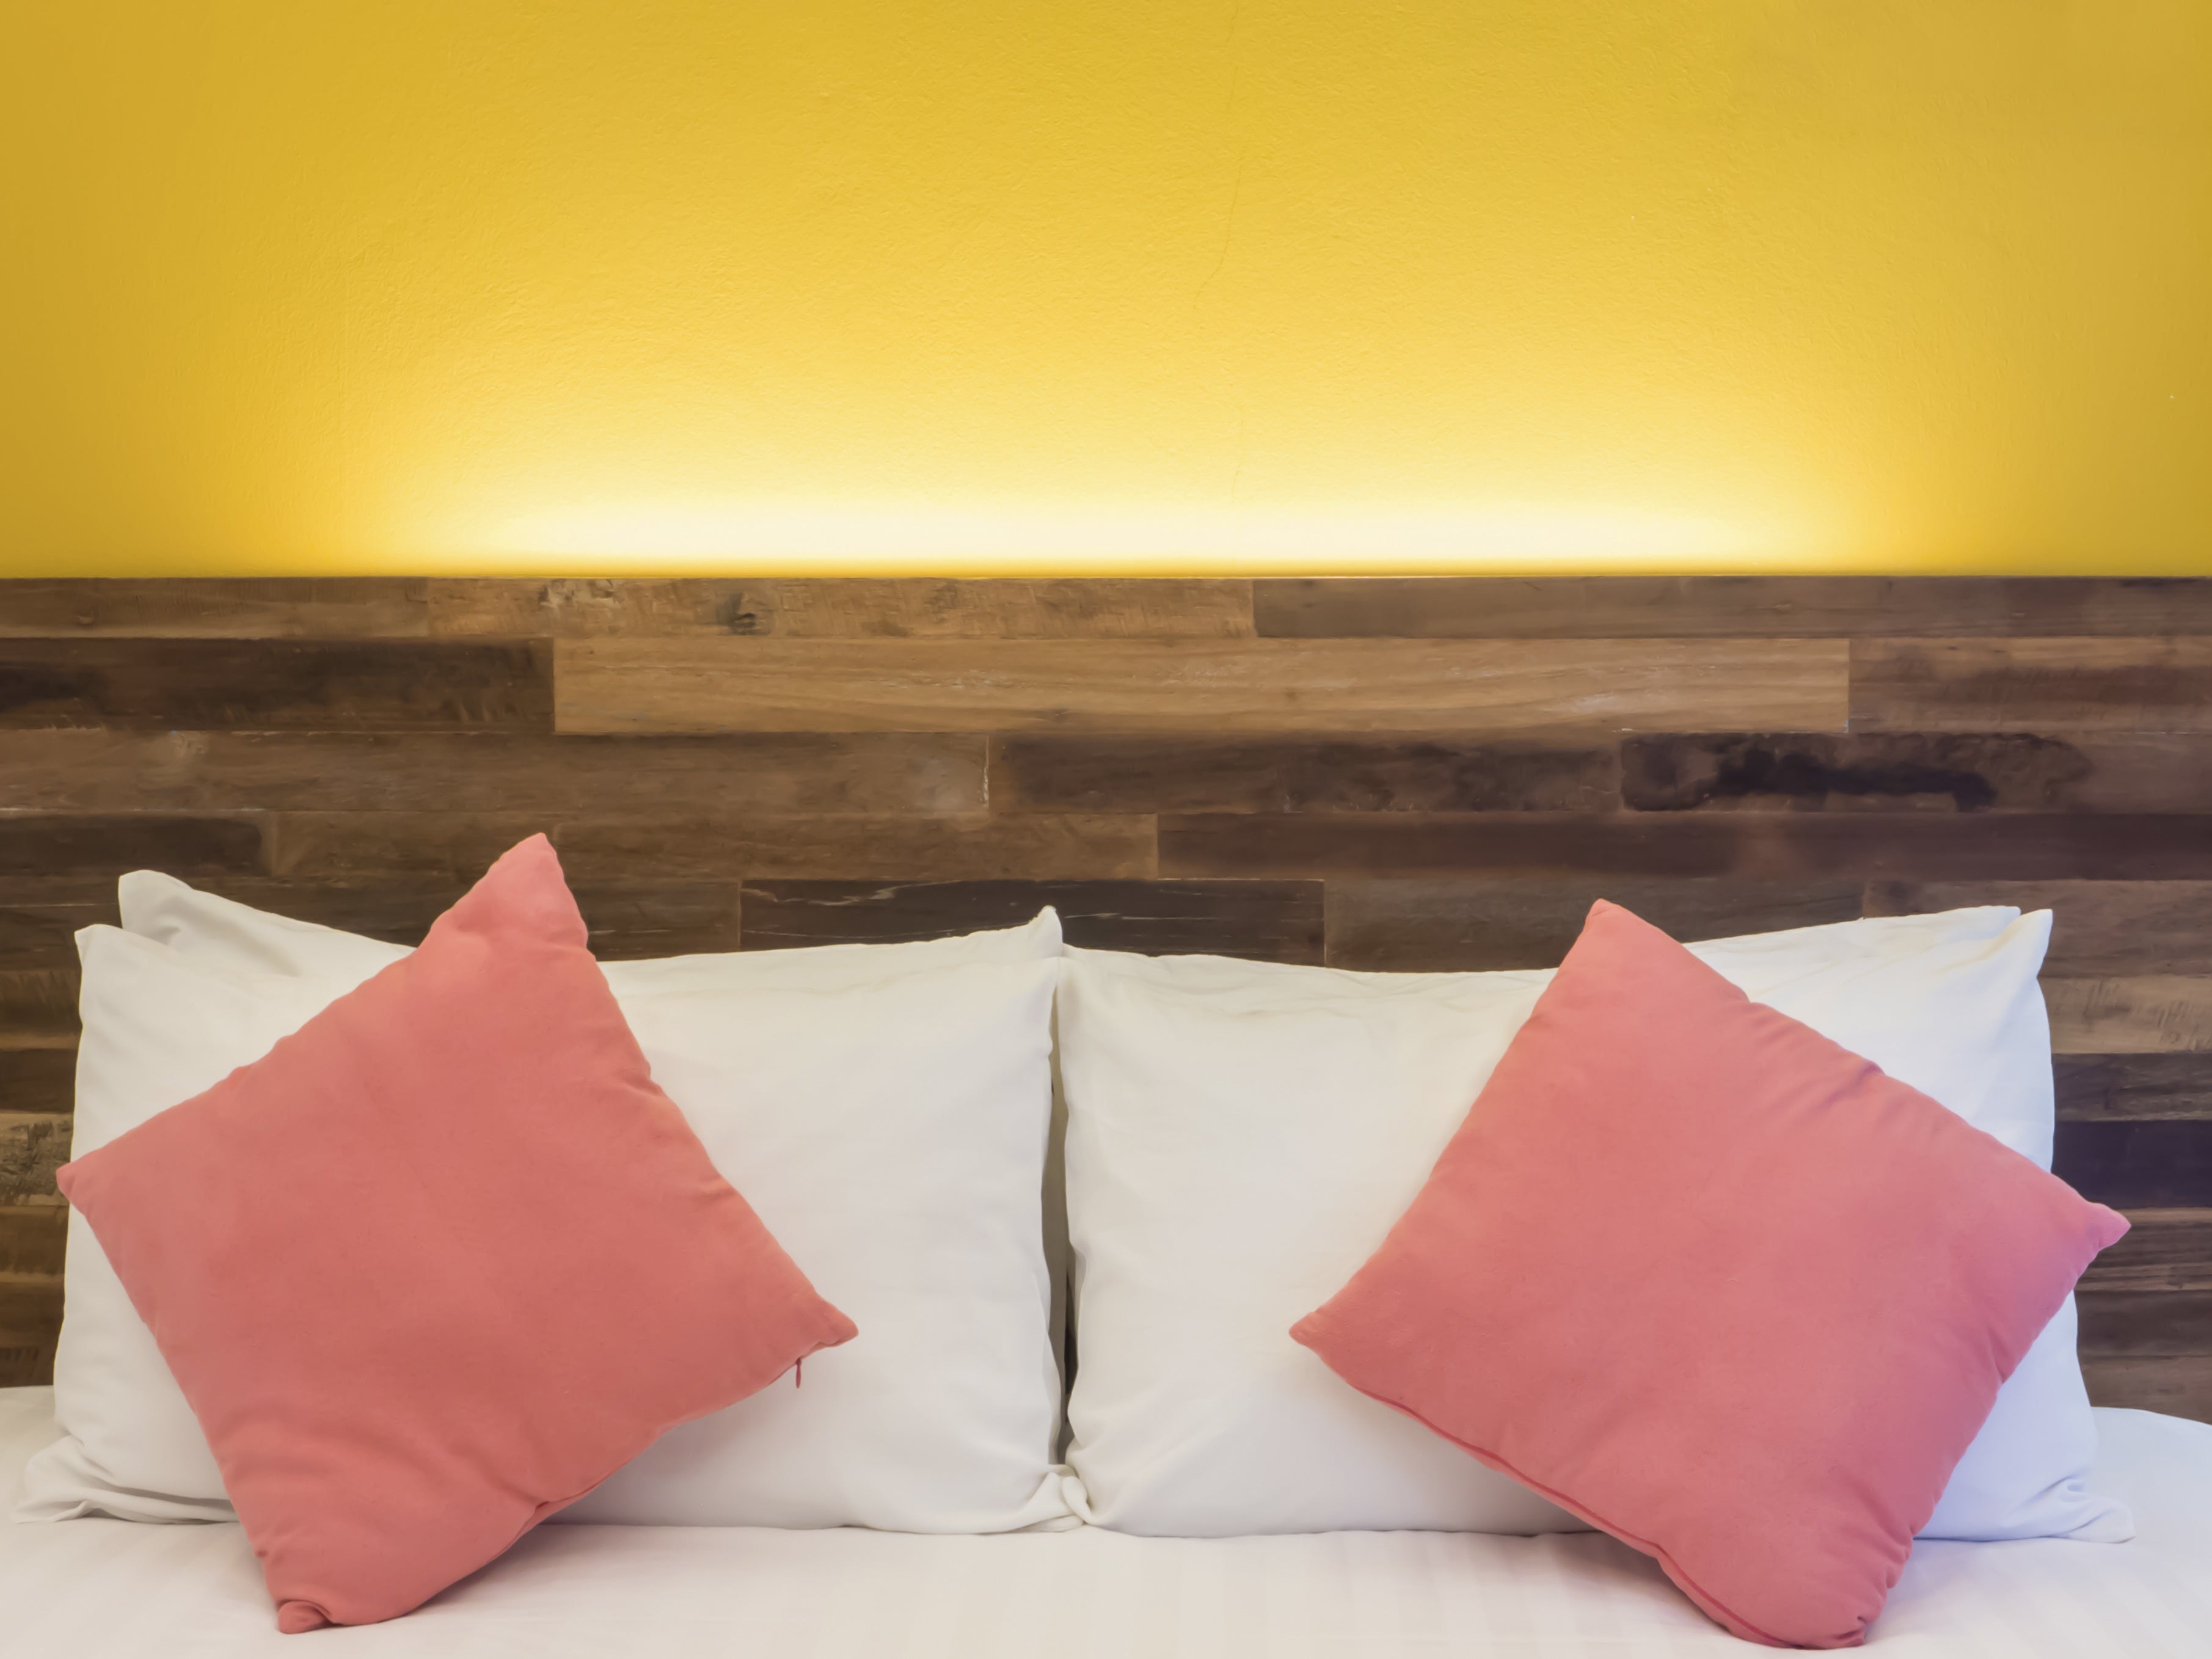
Headboard
Use wood planks to create your new headboard. Make it the statement piece of the room. The best thing about making a headboard yourself is that you can decide how tall to make it, how wide you want it, and how many different types of wood to use.
Dining Table Centerpiece
Using wood planks, construct a rectangular structure that will hold four or five mason jars in a single row. Once the wooden “box” is built, put the mason jars inside. Fill each mason jar halfway with water or soil, and place your favorite flower or herb inside. Time to host a dinner party!
Wall Mounted Key Holder
Take a wood plank or two and saw it down to the desired size. Hammer in large rustic nails or attach hooks. Mount it to the wall, and voilà, your keys have a new home! If you are really feeling fancy, add a shelf to the key holder by attaching another wood plank perpendicular to the original. You could use this shelf to add decorations or simply use it for storage.
Coasters
Coasters are the easiest DIY project of all and so much fun. Saw a piece of the wood plank to your desired coaster size. Sand it for smooth edges so it won’t scratch any furniture. Then, get creative! Paint any design, letter, or phrase onto the coaster, wait for it to dry, and they’re ready for the coffee table.
Wall Hangings
Nail together however many wood planks are needed to create the size perfect for you. Stencil out a gorgeous design, show off your artistic skill with a painting, or simply write a phrase. Either hang your masterpiece by twine on a nail or mount it to the wall. If you love the finished look, make a correlating collage of wood hangings to fill an empty room!
Magazine Holder
Take two wide wood planks, plain or painted, and carve just enough of the center so that they intersect to make a standing “X” shape. Make sure it is sturdy by applying a little pressure on the top. Place your magazines on the top half of the “X” for the most stylish magazine storage ever.
Wooden Tray
Construct a wooden rectangular base and four short standing sides to make your new tray. Attach two small handles in the center of the shorter edges. You could use this new tray for food, your laptop, or decorative storage. Place the tray in the center of your coffee table or ottoman when it isn’t being used for an added decoration.
These are just a few of the many, many DIY projects you can create with our wood kits. If these ideas inspire you, tag us in your finished photos using #DIYVintageHarvest; we’d love to see how your projects turn out!