
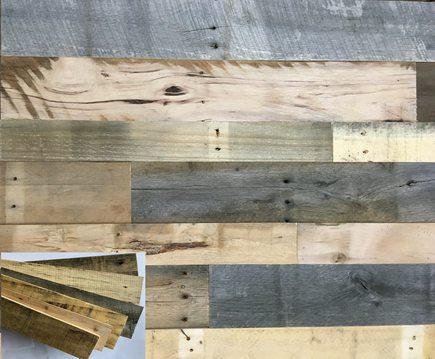
Reclaimed wood is more than just beautiful—it’s sustainable, durable, and full of character. But before it becomes a rustic hand hewn beam, statement wall, or custom reclaimed wood table, it undergoes a detailed preparation process. Here's a quick look at how reclaimed wood is prepared for modern homes.
1. Salvaging the Wood
Reclaimed wood is sourced from old barns, factories, warehouses, and even shipping crates. These structures often used old-growth timber, prized for its density and durability.
2. Metal Removal and Cleaning
Each piece is scanned for nails, screws, and other hardware using metal detectors. Then, it’s cleaned—typically with pressure washing or hand-scraping—to remove years of dirt, oil, or paint.
3. Kiln Drying
Next, the wood is kiln-dried to:
- Lower moisture content
- Kill insects and mold
- Prevent warping or cracking
This step is essential for safely using reclaimed wood indoors.
AO
4. Milling and Surfacing
· After drying, the wood is milled:
- Edges are squared
- Surfaces are planed
- Boards are cut into reclaimed wood planks.
- Some pieces are left rough for a rustic feel, while others are sanded smooth for a more modern look.
5. Finishing and Grading
The final stage includes sanding, staining, or sealing. Boards are graded by appearance and structural quality, ready for use in furniture, flooring, and décor.
Why It Matters
Proper preparation ensures reclaimed wood is not only beautiful but also stable, safe, and long-lasting. When you choose reclaimed materials, you're investing in sustainability and timeless design—while giving old lumber a new life