
Reclaimed wood is a favorite among builders, decorators, and DIYers alike—and for good reason. Its character, history, and eco-friendliness make it a standout material for everything from furniture to accent walls. But before you can enjoy its full beauty and durability, reclaimed wood needs proper finishing and sealing.
Unlike new lumber, reclaimed wood often comes with a rugged backstory—complete with dirt, old nails, and signs of wear. Finishing it properly not only brings out its natural charm but also protects it for years to come.

Here’s a simple guide to finishing and sealing reclaimed wood:
1. Inspect and Prepare the Wood
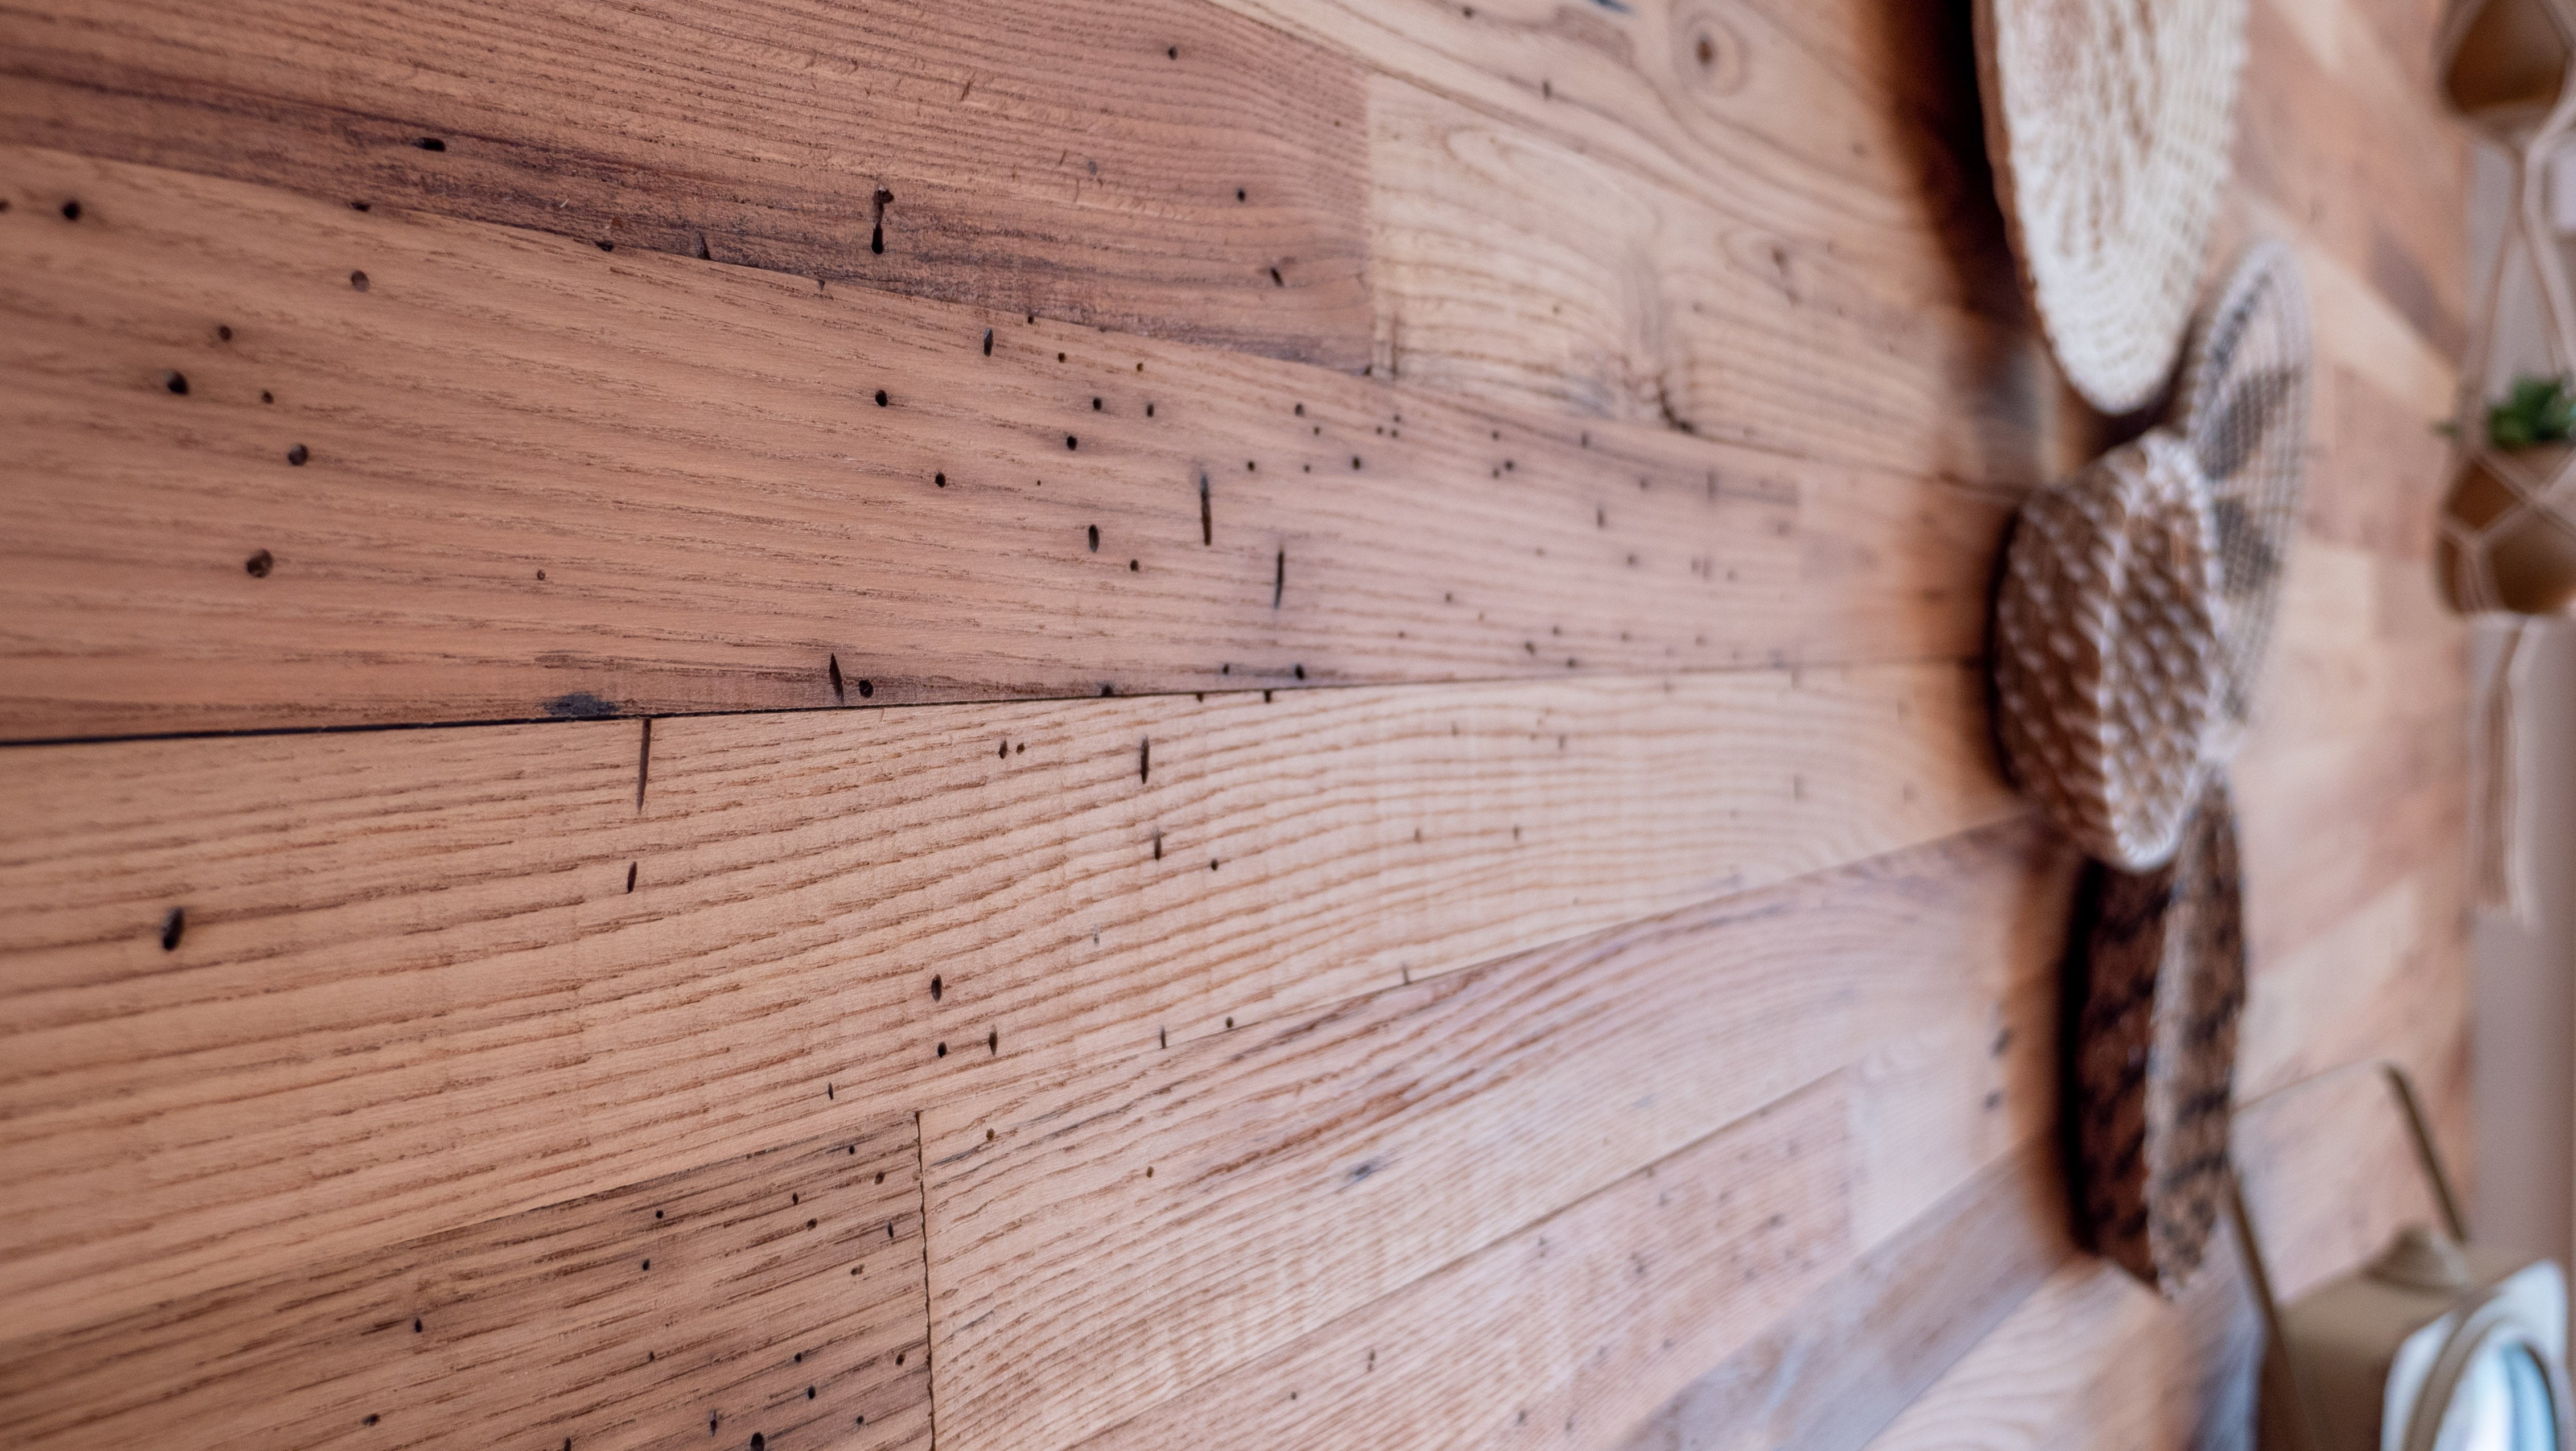
Start by examining the wood for embedded nails, screws, or staples. Use pliers or a metal detector to locate and remove any hidden metal that could damage your tools.
Then, scrub reclaimed wood with a stiff brush to remove dirt and debris. For extra grimy pieces, consider using a wood cleaner or a mixture of vinegar and water. Let it dry completely before moving on.
2. Sand the Surface
Reclaimed wood can be rough and splintered, so sanding is essential. Use a belt sander or orbital sander, starting with coarse grit (around 60–80) to smooth out uneven surfaces. Progress to a finer grit (120–150) to achieve a more polished finish while still preserving some of the character marks.
Pro Tip: Don’t over-sand! You want to keep the texture and patina that make reclaimed wood so unique.
3. Clean Again
After sanding, wipe the wood down with a tack cloth or a damp rag to remove all the dust. Clean wood will absorb finishes and sealants more evenly and effectively.
4. Choose Your Finish
Depending on the look you’re going for, you have a few options:
- Clear Oil Finish (e.g., tung oil, Danish oil, or linseed oil): Penetrates deep into the wood, enhances grain, and gives a natural matte or satin finish.
- Stain: Adds color while still allowing the wood grain to show. Choose a water- or oil-based stain based on your project needs.
- Whitewash or Pickling: Great for a rustic or coastal look, these finishes lighten the wood and preserve its aged character.
Apply your chosen finish with a clean brush or lint-free cloth, working in the direction of the grain. Let it soak in, and wipe off any excess.
5. Seal It for Protection
To protect your reclaimed wood, -especially for surfaces like tables or countertops -apply a sealer once your finish has dried:
- Polyurethane: Durable and available in matte to glossy finishes. Great for high-traffic or high-use surfaces.
- Wax: Offers a soft sheen and is easy to reapply. Ideal for furniture or decorative pieces.
- Water-based Polyacrylic: A low-odor, eco-friendly option that won’t yellow over time.
Apply 2–3 thin coats, sanding lightly between coats if needed, and let each layer cure according to the product instructions.
Finishing and sealing reclaimed wood takes a little patience, but the payoff is huge. With the right prep and products, you can turn salvaged lumber into a stunning piece that’s not only beautiful but also built to last.
Whether you’re creating a rustic coffee table, a reclaimed wood headboard, or a one-of-a-kind kitchen counter, proper finishing will help your project shine—literally and figuratively.
Ready to bring new life to old wood? Start with a solid finish.